Every application you build in Saasio is composed of two fundamental building blocks. Understanding the distinct role of each is the key to creating a powerful, full-stack application.
Pages: The User Interface
Pages are what your users see and interact with—like a homepage, a
dashboard, or a profile section. They are the visual front-end of your
application.
API Routes: The Backend Logic
API Routes are the invisible backend. They are server-side endpoints
that handle data, process requests, and communicate with your database or
other services.
Supported Features: Dynamic & Nested Routing
Saasio fully supports the same modern routing patterns found in frameworks like Next.js. This includes:Dynamic Routes
You can define dynamic URL segments using brackets. These work for both pages and API routes: Examples:/user/[id]/blog/[slug]/comments/[comment-id]/product/[product_id]/specs
Nested Routes
Routes can be deeply nested to match complex application structures. Examples:/dashboard/settings/security/user/[id]/posts/[post-id]/shop/[category]/items/[item-id]
Accessing Dynamic Parameters
When working with dynamic routes, Saasio automatically extracts the values from the URL and makes them available inside your workflows. You can access them using:-
Page Param — when you are inside a Page
Use this data source to read the dynamic segment values of the current page URL. -
Route Param — when you are inside an API Route
Use this data source to read dynamic values coming from the API request path.
-
A page at
/user/[id]accessed via/user/42
→id="42" -
An API route at
/posts/[post-id]/comments/[comment-id]
accessed via/posts/88/comments/12
→post-id="88"
→comment-id="12"
Dynamic parameters work everywhere: regular pages, nested pages, API routes,
and deeply nested structures.
Pages: Building Your User Interface
Your project’s pages form the map of your application. When you create a new project, Saasio automatically includes two essential, non-deletable pages:- Home (
/): The default page users land on when they visit your main URL. - 404 (
/404): The “Not Found” page shown when a user tries to access a URL that doesn’t exist.
1. Navigate to the Pages Tab
In the left panel of the Visual Editor, ensure the Pages tab is selected. This area lists all the pages in your project.
2. Create a New Page
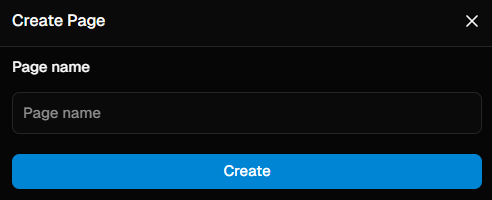
Click the
+ icon at the top of the pages list. This action opens a
prompt to name your new page.3. Enter the Page Name
Provide a clear, simple name for your page. This name will automatically become its URL path. For example:
- A page named
pricingwill be accessible atyour-domain.com/pricing. - A page named
about-uswill be accessible atyour-domain.com/about-us.

Once created, you can click on any page in the list to load it onto the
central canvas and begin designing its layout and content.
API Routes: Powering Your Backend
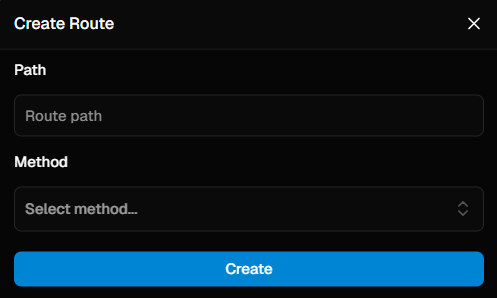
API Routes are your application’s connection to the server. They are essential for any task that requires secure or private logic, such as fetching user data, processing a payment, or connecting to another company’s API. Here’s how to create one.3. Define the Route Path and Method
Every API route needs two critical pieces of information:
- Path Name: The unique URL for your endpoint (e.g.,
/users,/products). This is the address that your application (or other services) will call. - Method: The HTTP method the route will respond to. This defines the type of action the route performs:
GET: Retrieve Data.POST: Create New Data.PUT: Update Existing Data.DELETE: Remove Data.
